![]() This post is older than a year. Consider some information might not be accurate anymore.
This post is older than a year. Consider some information might not be accurate anymore. ![]()
Used: yubikey 4
This article is about my experience with the YubiKey 4 for full disk encryption (FDE) with Linux. I will introduce the YubiKey and its capabilities of the entire disk encryption with Multi-Factor Authentication.
In the following sections, you will learn about
- Information Security Management and its purpose and desire for FDE
- Multi-Factor Authentication (MFA) and its advantages over regular passwords
- How to use MFA for FDE
- How to perform FDE with Linux Ubuntu
Motivation and Basics
My employer, mimacom offers freedom with responsibility. I can choose my working device, tools, environment and operating system. Many other firms are inflexible if it comes to that. It may sound ridiculous that experts and specialists are not allowed to work the way that makes them efficient. At mimacom, I can work as I desire as long as I comply with our shared values and standards.
As Linux User from the beginning, I was delighted to use Linux for work again. Regardless of the operating system, as engineers, we are responsible for protecting our data at all costs. Data must be protected from theft or loss.
Information Security Management
This condition is rooted in the family of standards, that helps organisations keep information assets secure, the ISO/IEC 27001. One mandatory measure is full disk encryption to ensure data security for our customers and us.
Full disk encryption (FDE) technology protects data by encrypting it on the hard drive of a protected computer. FDE is considered the most complete protection of such data. Even if an encrypted hard drive of a machine is removed, the data is still protected because it is encrypted. To access the encrypted data, you need the right key or password to decrypt the data.
Multi-Factor Authentication
When it comes to protecting your data, SMS-based or app-based two-factor authentication using your smartphone is more secure than depending only on passwords. You do not only need to know a secret password but provide proof you are the right person. Proving your identity is a combination of two different factors.
These factors are
- something you must know, e.g. a password.
- something you must have, e.g. a token or in our case the YubiKey
We can utilise the YubiKey for the hard disk encryption. The YubiKey adds an additional layer of security for your working device.
YubiKey from Yubico
The YubiKey is a hardware authentication device manufactured by Yubico that supports one-time passwords, public-key encryption and authentication, and the Universal 2nd Factor protocol developed by the FIDO Alliance.
The YubiKey supports a Challenge-Response mode, where the computer can send a challenge to the YubiKey and the YubiKey will answer with a response, that is calculated using HMAC-SHA1.
In cryptography, an HMAC - keyed hash message authentication code - is a specific type of message authentication code involving a cryptographic hash function (SHA1) and a secret cryptographic key (password). It may be used to simultaneously verify both the data integrity and the authentication of a message, as with any MAC (message authentication code).
YubiKey is simple to use and has the following advantages:
- It does not require any additional hardware to be installed.
- It uses a standard USB port
- It does not require network access in the pre-boot authentication environment.
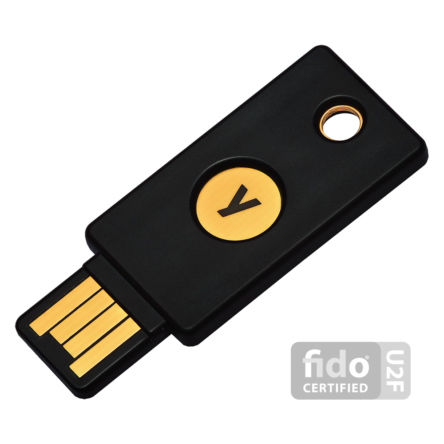
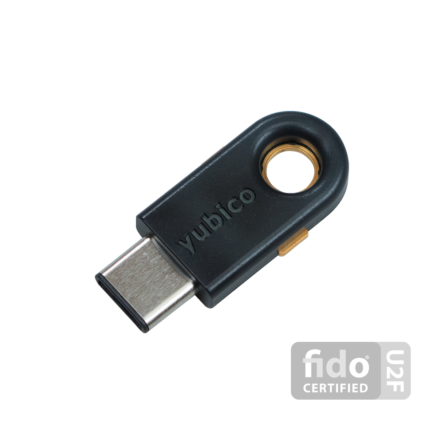
YubiKey offers USB-A and USB-C devices.
Full Disk Encryption on Linux Ubuntu
To use the YubiKey for FDE, we have to understand the standard basics on Linux. The LUKS (Linux Unified Key Setup) is the standard for Linux hard disk encryption. I am going to demonstrate the FDE on a typical Linux installation with the Xubuntu distribution on a virtual machine. The virtual hard disk will be encrypted with LUKS and the YubiKey. You can encrypt any hard disk you like, i.e. internal and external portable hard drives.
Secure Installation Procedure
In the initial installation, we use LUKS with a passphrase. Password managers like Bitwarden generate secure passwords. The following image shows an example password.
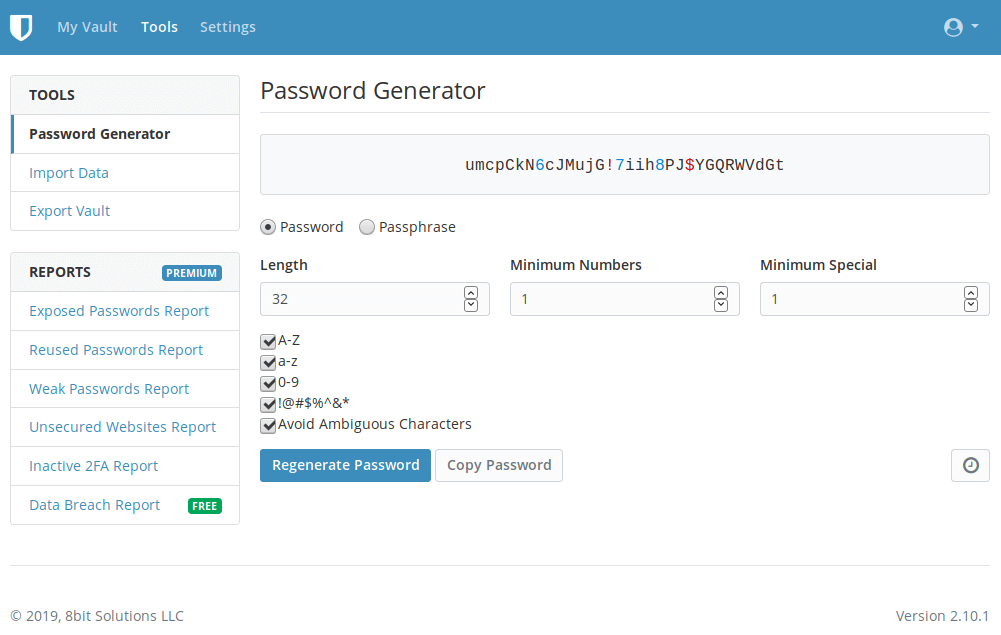
This password is hardly usable during boot time to unlock your computer.
LUKS also provides secure management of multiple user passwords. After the complete installation, we add a new simpler passphrase with the YubiKey to the existing LUKS partition header. Since the passphrase must work with the YubiKey, it is easy and safe to use.
We can keep the first password slot. If the YubiKey is lost, you can fall back to the first slot. If you disable the first slot, you can not access the data anymore if the YubiKey is lost. Having a fallback is always a wise choice.
Virtual Machine Setup
We use Oracle VirtualBox 6.0.8 r130520 to create the Demo. We install Xubuntu LTS 18.04.03 Bionic Beaver on the virtual machine. To pass the YubiKey to the virtual machine, you need to add yourself to the group vboxusers if you want to try it yourself with VirtualBox. You can choose any Linux distribution that supports FDE with LUKS.
usermod -a -G vboxusers username
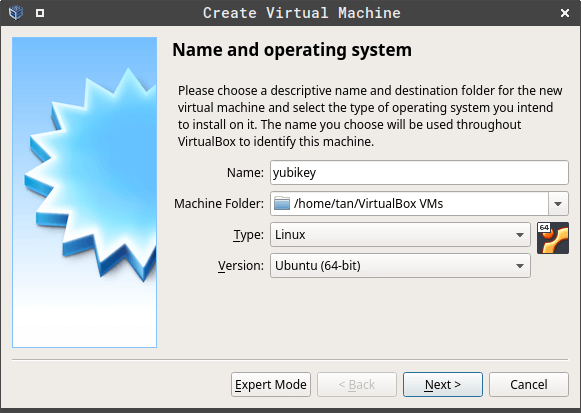
Create a virtual machine.
Installation
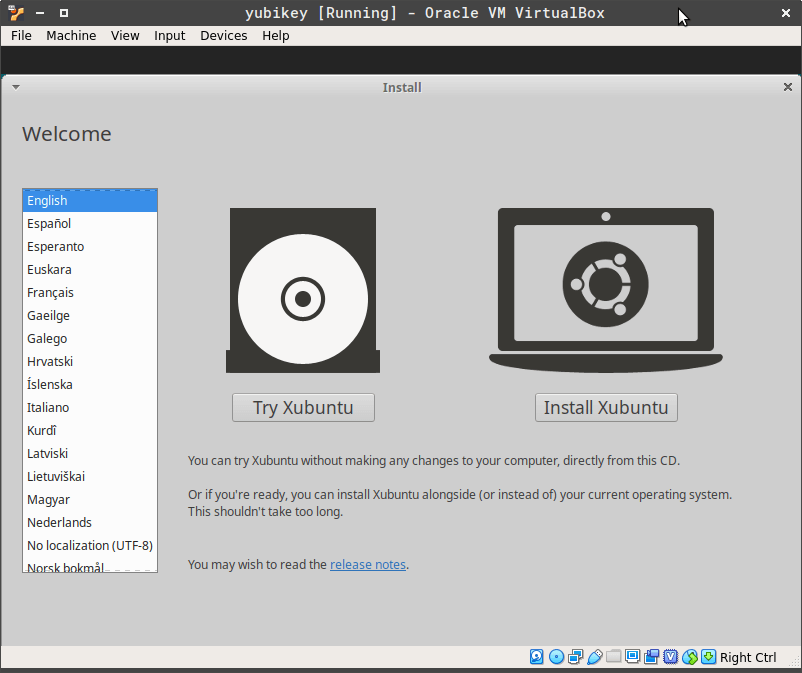
This is not a complete description or manual on the Xubuntu installation. We focus on our necessary parts for the security aspect. Start the virtual machine with the installation image. Choose the installation option.
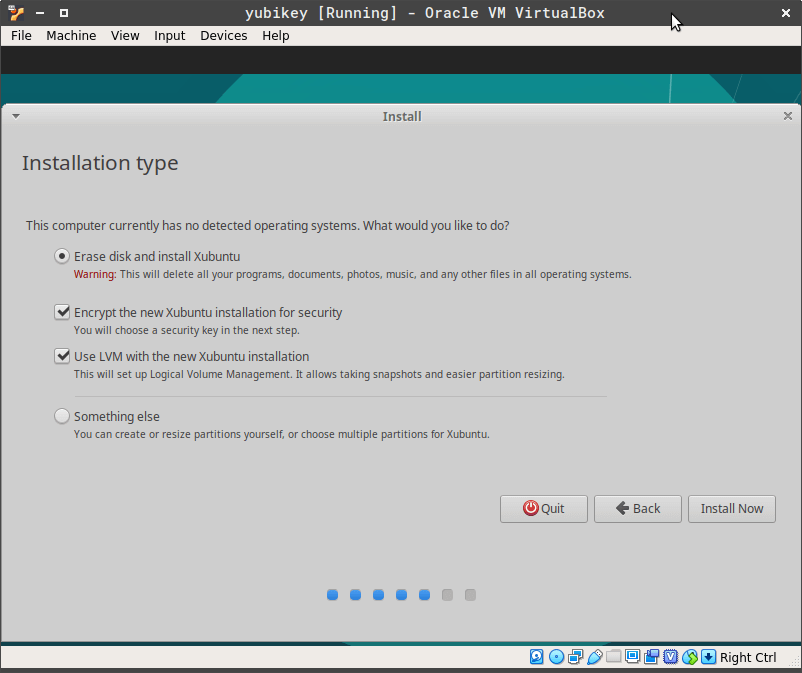
Enable Encryption for the hard disk.
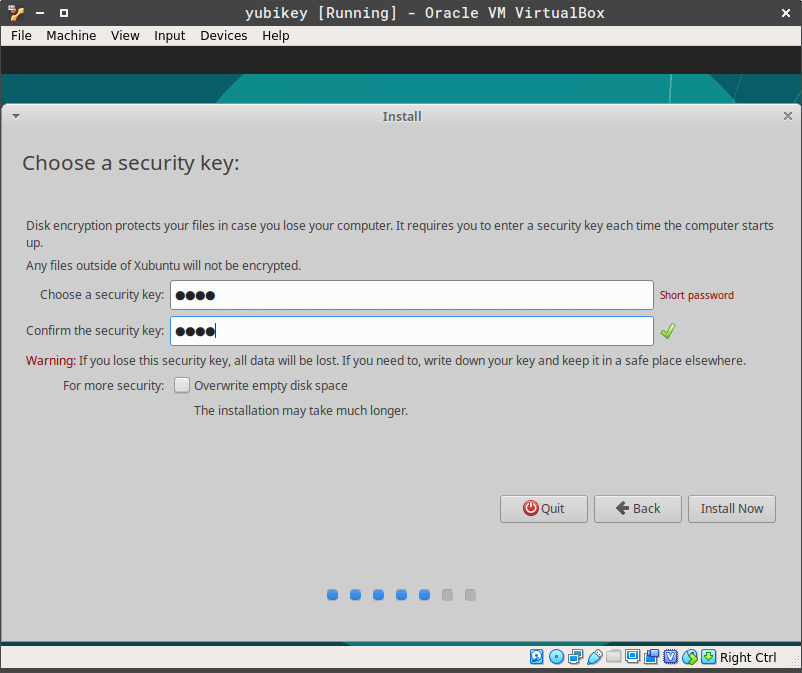
Enter the encryption password. For the simplicity just use the password demo.
Secure Boot
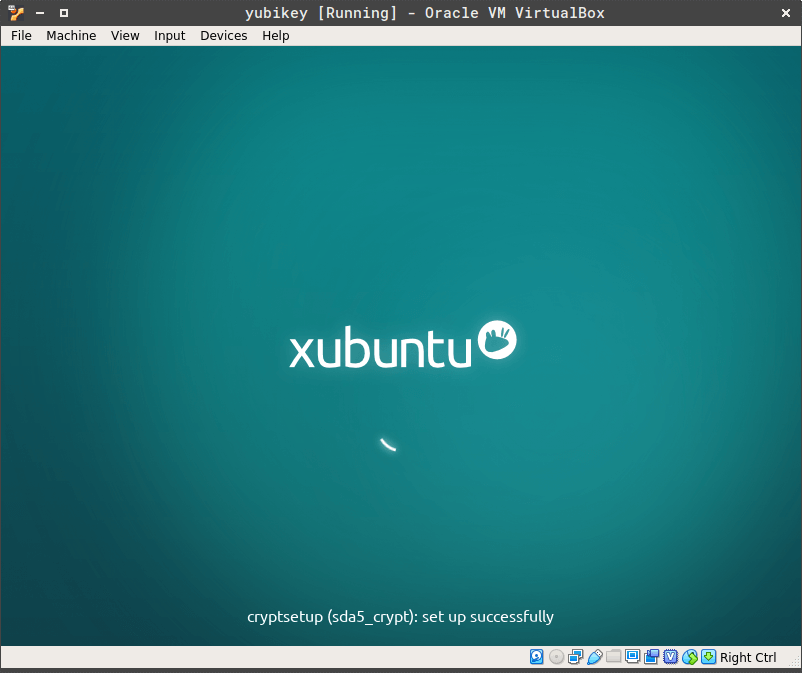
After you finished all necessary installation steps, the os will reboot. LUKS asks for the encryption password.
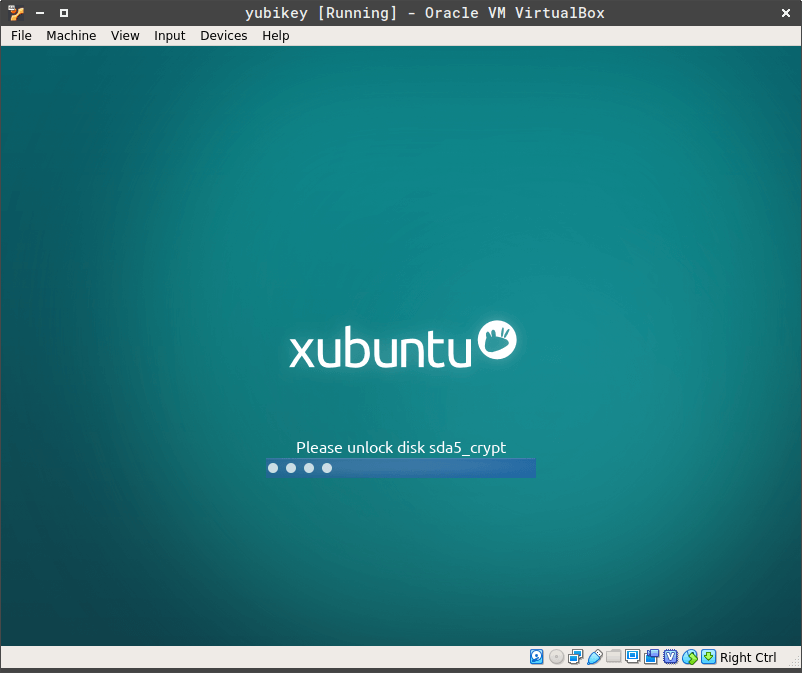
After you have entered the password, the system will start up properly.
Setup YubiKey for LUKS
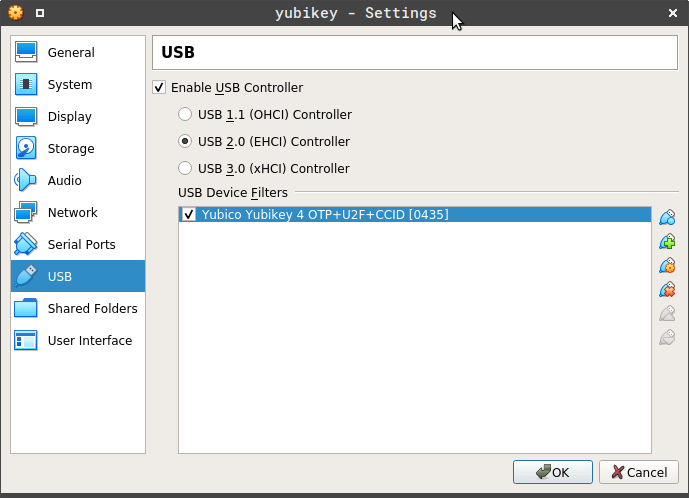
Pass the YubiKey through USB to the virtual machine.
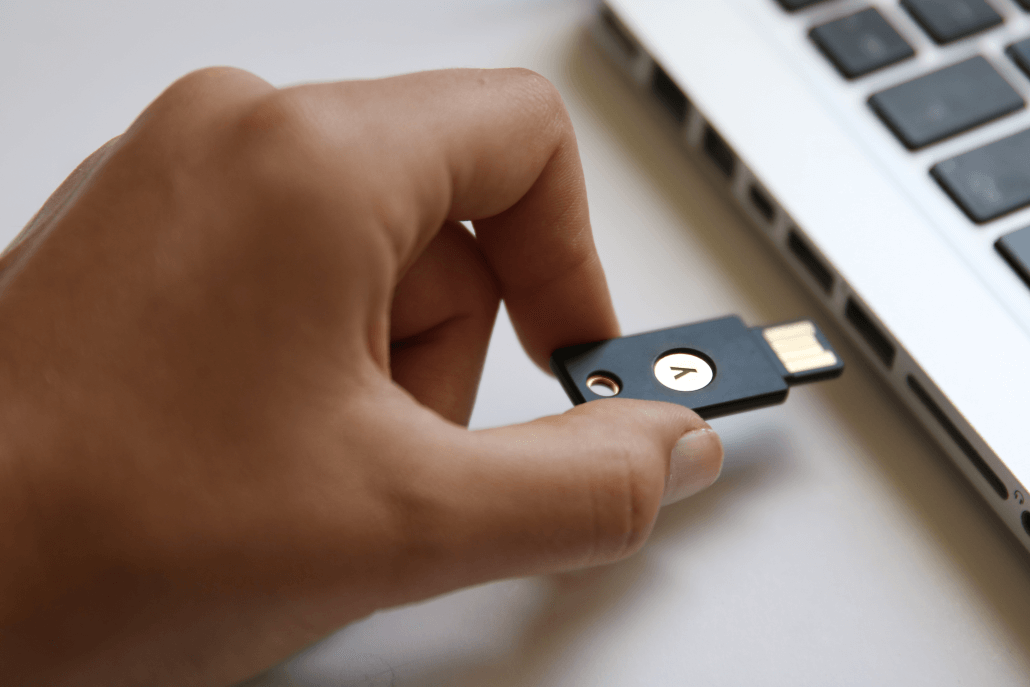
This simulates the real insertion or presence of the YubiKey during boot time like this.
To use the YubiKey, we add this repository and install the yubikey-luks package from Cornelius Kölbel.
sudo add-apt-repository ppa:privacyidea/privacyidea
sudo apt-get update
sudo apt-get install yubikey-luks
This enables you to use the YubiKey as 2FA for LUKS. The password you enter is used as a challenge for the YubiKey. The script allows booting the machine with either 2FA (password and YubiKey) or with a reasonable password from any key slot as previously mentioned before.
Setup YubiKey
The YubiKey has two slots. Slot 1 is for OTP usage. We use slot 2. In the following output, the key was truncated.
tan@omega:~$ sudo ykpersonalize -2 -ochal-resp -ochal-hmac -ohmac-lt64 -oserial-api-visible
Firmware version 4.3.5 Touch level 517 Program sequence 1

Configuration data to be written to key configuration 2:

fixed: m:
uid: n/a
key: h:xxxxxxx20b533ef623cfc721xxxxxxxxxxxxxxxxxxxx
acc_code: h:000000000000
OATH IMF: h:0
ticket_flags: CHAL_RESP
config_flags: CHAL_HMAC|HMAC_LT64
extended_flags: SERIAL_API_VISIBLE

Commit? (y/n) [n]: y
You can check the existing keys on the encrypted device.
tan@omega:~$ sudo cryptsetup luksDump /dev/sda5 | grep -i key
Key Slot 0: ENABLED
   Key material offset:   8
Key Slot 1: DISABLED
Key Slot 2: DISABLED
Key Slot 3: DISABLED
Key Slot 4: DISABLED
Key Slot 5: DISABLED
Key Slot 6: DISABLED
Key Slot 7: DISABLED
The script at /usr/bin/yubikey-luks-enroll assumes that your LUKS partition is /dev/sda5. Change the value in the script, if you have a different device/partition.
Distribute key by invoking the script. First, you need to enter the password for the YubiKey and confirm. To write the new key to the encrypted device, use the existing encryption password.
tan@omega:~$ sudo yubikey-luks-enroll
This script will utilize slot 7 on drive /dev/sda.
If this is not what you intended, exit now!
Adding yubikey to initrd
Please insert a yubikey and enter a new password.
This is the password that will only work while your
  yubikey is installed in your computer. *********
Please enter the yubikey password again: *********
You may now be prompted for an existing passphrase.

This is NOT the passphrase you just entered, this is the passphrase
that you currently use to unlock your LUKS encrypted drive.
Enter any existing passphrase:
We can check again and see the new key is installed on slot 7.
tan@omega:~$ sudo cryptsetup luksDump /dev/sda5 | grep -i key
Key Slot 0: ENABLED
    Key material offset:    8
Key Slot 1: DISABLED
Key Slot 2: DISABLED
Key Slot 3: DISABLED
Key Slot 4: DISABLED
Key Slot 5: DISABLED
Key Slot 6: DISABLED
Key Slot 7: ENABLED
    Key material offset:    3536
Now you can change the first simple password on slot 0 to a more secure one from a password generator. To avoid confusion, this is not the YubiKey password on slot 7!
tan@omega:~$ sudo cryptsetup luksChangeKey /dev/sda5
Enter passphrase to be changed:
Enter new passphrase:
Verify passphrase:
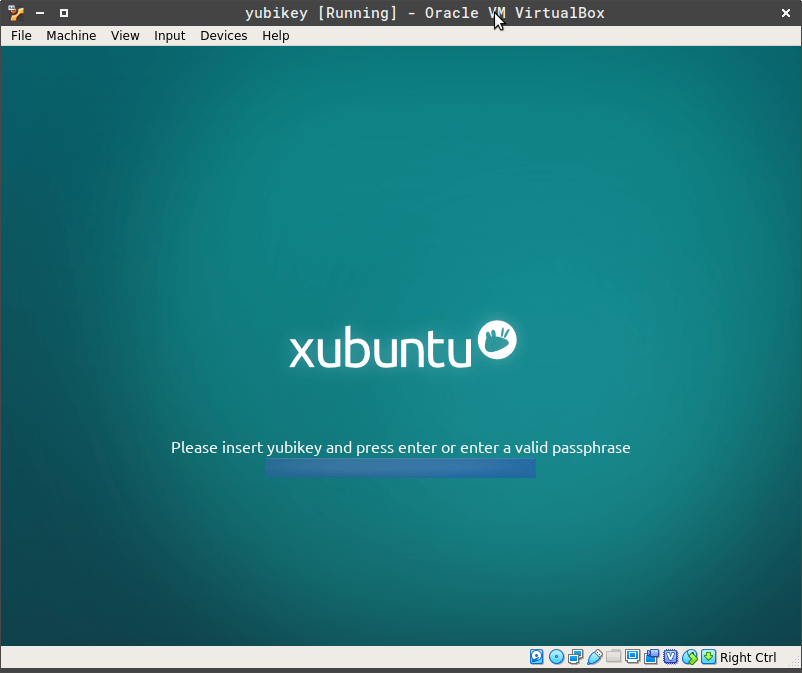
Reboot the system, and you will see a modified screen. You can now use the generated password if you don’t have the YubiKey or use the simple password with the YubiKey.
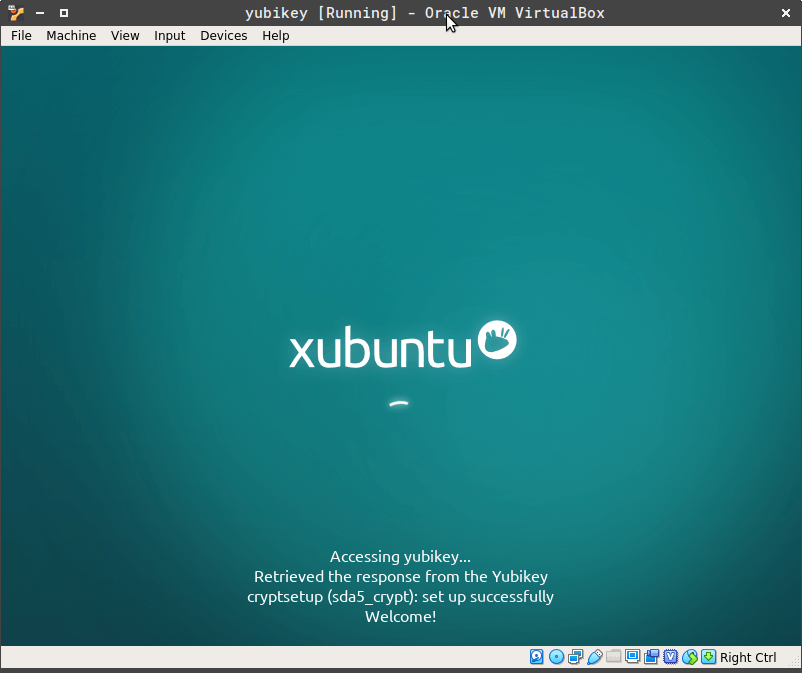
After the unlock, the system will start properly.
Summary
In this article, you have learned that multi-factor authentication (MFA) is also usable for full disk encryption. Full disk encryption with the YubiKey is pretty simple and straightforward.
If you consider buying a YubiKey yourself, I use the 4th generation of the YubiKeys for more then 2 years now. Yubico offers already the 5th generation. Besides FDE, YubiKey has so many features to offer, e.g. GPG and 2FA for Google, GitHub, GitLab and many more. Many thanks to Cornelius Köbel, to make that happen with the yubikey-luks package. mimacom loves Open Source.

